Table of Contents
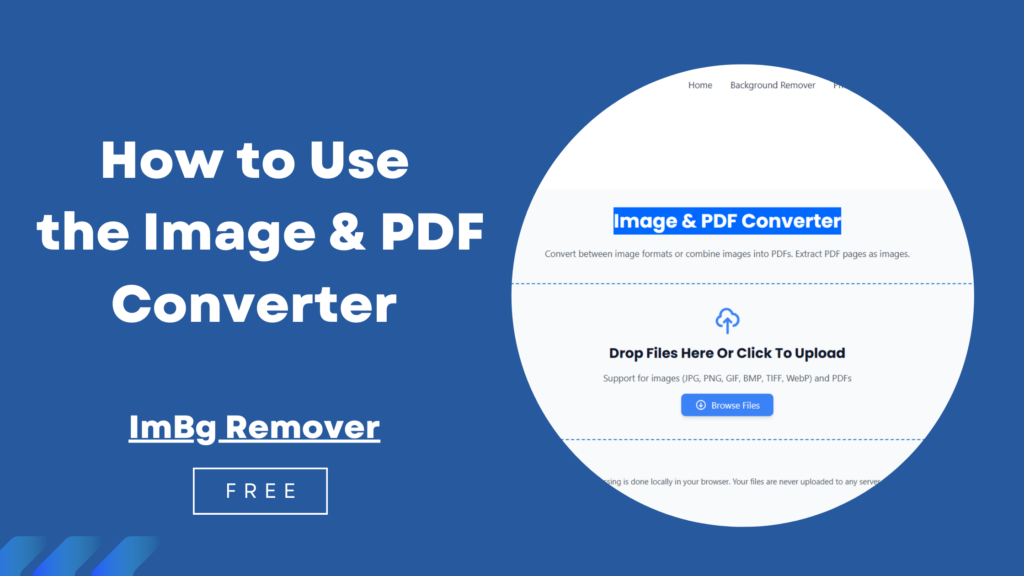
How to Use the Image Converter on imbgremover.in
Images are the heartbeat of digital content—whether you’re designing a website, sharing on social media, or preparing files for print. But sometimes, you need your image in a different format: a PNG for transparency, a JPG for smaller file sizes, or a WebP for modern web performance. That’s where the Image & PDF Converter tool at Image & PDF Converter comes in—a free, easy-to-use online solution to transform your images in seconds.
In this guide, we’ll walk you through how to use this handy tool to convert your images into popular formats like PNG, JPG, WebP, and more. No software downloads, no complicated steps—just a straightforward process to get your images exactly how you need them. Let’s get started!
What is the imBg remover Image & PDF Converter?
The Image Converter on imbgremover.in is a web-based tool designed to help you quickly change the format of your images. Whether you’re a blogger, designer, or casual user, this tool offers a clean interface and robust features to make image conversion effortless. Here’s what you can expect:
- Simple Upload: Add your image with a click.
- Multiple Formats: Convert to PNG, JPG, WebP, and other common types.
- Fast Processing: Get your converted image in moments.
- Free Access: No sign-up or payment required.
It’s perfect for anyone who needs a quick fix without diving into complex software like Photoshop or GIMP.
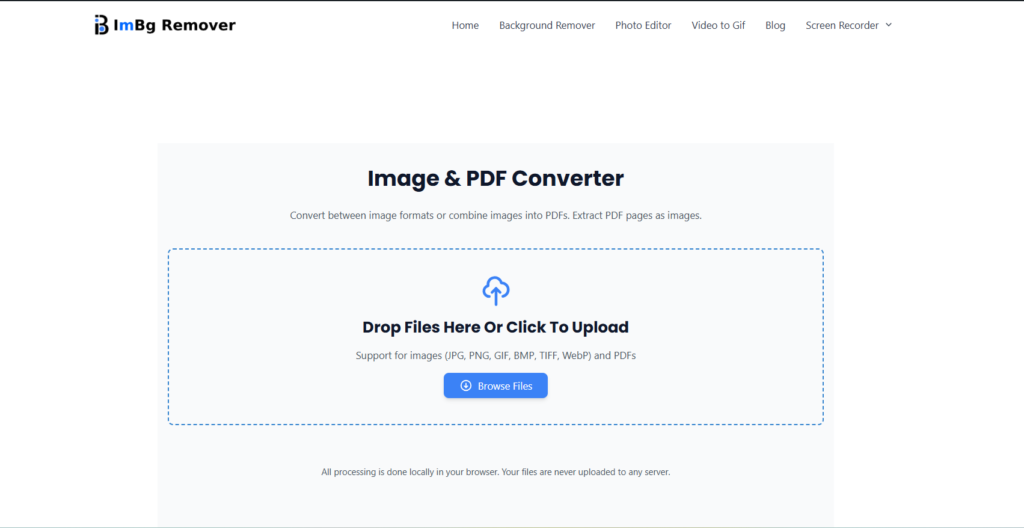
Step 1: Visit the Image Converter Page
First things first—head over to the tool:
- Open your browser (Chrome, Firefox, or any modern browser works great).
- Go to Image & PDF Converter
You’ll land on a sleek page with a clear call-to-action to upload your image. The design is minimalistic, keeping the focus on getting the job done.
Step 2: Upload Your Image
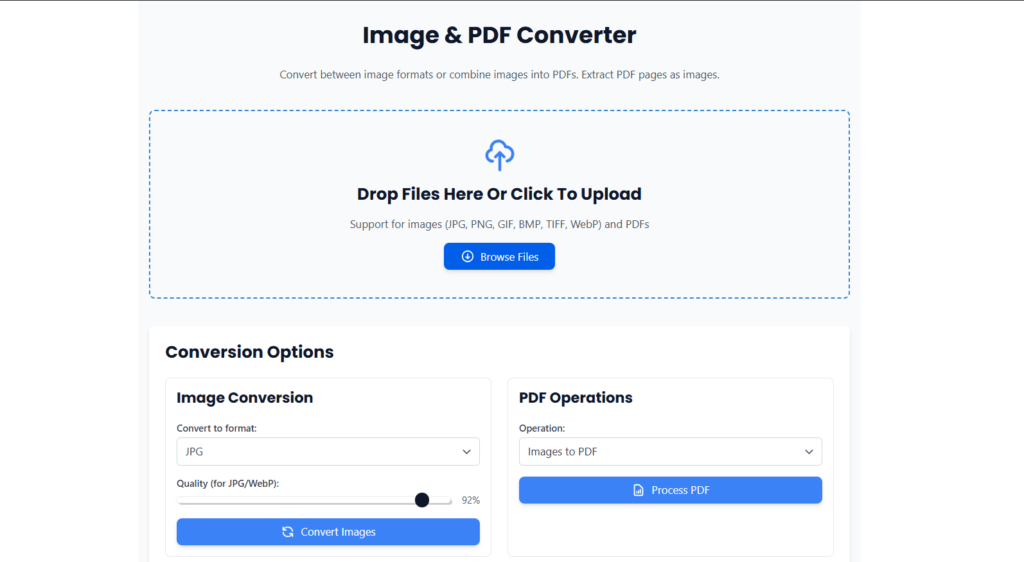
Once you’re on the page, it’s time to add the image you want to convert:
- Locate the Upload Area:
- Look for a button or box that says something like “Upload Image” or “Choose File.” It’s typically front and center.
- Select Your Image:
- Click the upload button to open your file explorer.
- Browse your computer or device, pick the image you want (e.g., a JPG, PNG, or BMP), and click Open.
- Supported formats likely include all the usual suspects: PNG, JPG, WebP, BMP, and possibly more.
- Wait for Upload:
- The tool will upload your image to its server. Depending on your internet speed and file size, this takes just a second or two.
- You might see a preview of your image once it’s uploaded, giving you a quick look at what you’re working with.
Step 3: Choose Your Output Format
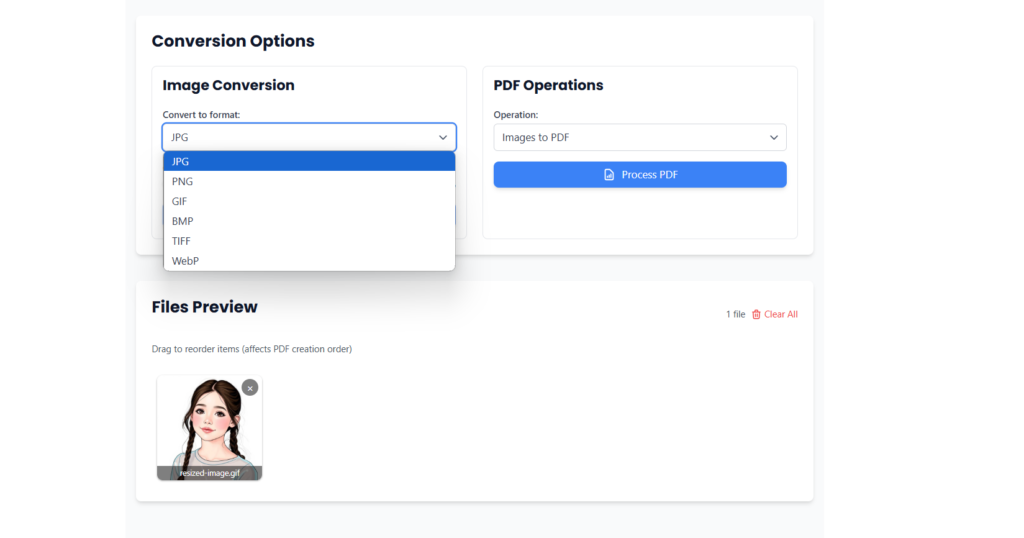
Now that your image is uploaded, decide what format you need:
- Find the Format Selector:
- Look for a dropdown menu or a set of options listing available formats (e.g., PNG, JPG, WebP).
- It’s usually near the preview or upload area.
- Pick a Format:
- Click the dropdown and choose your desired format:
- PNG: Great for transparency and high quality.
- JPG: Ideal for smaller file sizes and photos.
- WebP: Perfect for web use with good quality and compression.
- (Other formats like BMP or TIFF might also be available.)
- Click the dropdown and choose your desired format:
- Confirm Your Choice:
- Once selected, the tool might automatically prepare for conversion, or you may need to click a “Next” or “Convert” button—keep an eye out for that.
Step 4: Convert and Download Your Image
With your format chosen, it’s time to get your new file:
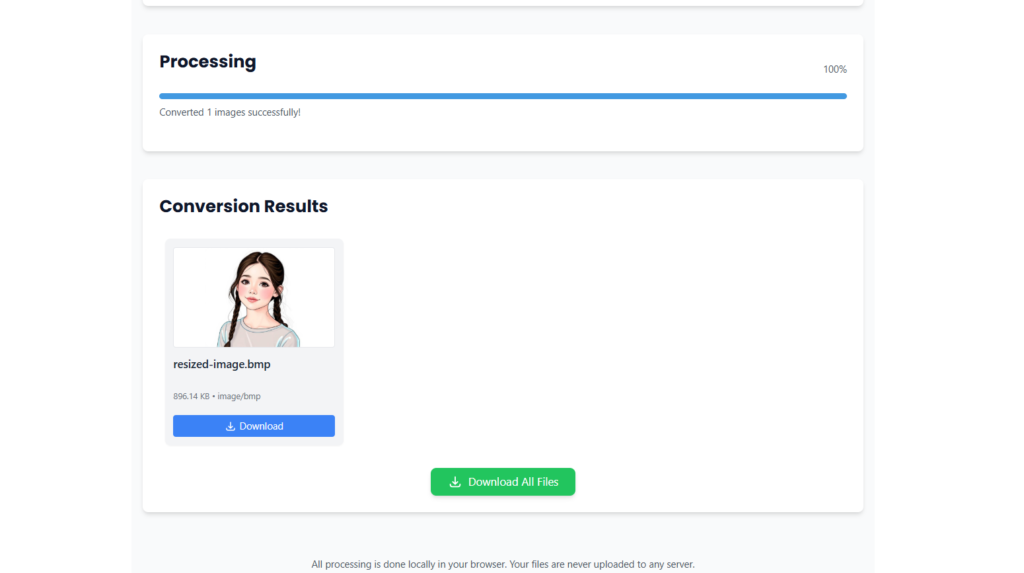
- Start the Conversion:
- Hit the Convert button (it might say “Convert Now,” “Process,” or similar).
- The tool will process your image on the server, converting it to the format you selected. This usually takes just a few seconds.
- Download the Result:
- After conversion, a Download button or link will appear.
- Click it, and your converted image (e.g., image-converted.jpg) will save to your Downloads folder or wherever your browser stores files.
- Check the file to ensure it’s exactly what you wanted!
Step 5: Start Over (If Needed)
Done with one image but have more to convert?
- The page likely resets after your download, letting you upload another image right away.
- If it doesn’t, look for a “Convert Another” or “Back” option to return to the upload screen.
Tips for Using the Image Converter
- File Size Matters: For faster uploads and conversions, keep your images under 10MB. Larger files might work but could take longer.
- Check Browser Compatibility: Use a modern browser for the best experience—older ones might not support WebP fully.
- Privacy Note: Since this is an online tool, your image is uploaded to their server. If privacy is a concern, avoid sensitive images or opt for an offline alternative.
- Test the Output: After downloading, open the file to confirm the quality and format meet your needs.
Why Choose imbgremover.in’s Image Converter?
This tool stands out for its simplicity and speed. Unlike desktop software, there’s no installation required—just visit the site and go. Compared to other online converters, its clean design and straightforward process make it a joy to use. Plus, it’s free, which is always a win!
Whether you’re prepping images for a website, resizing for email, or just experimenting with formats, ImBg Remover Image Converter has you covered.
Troubleshooting
- Upload Fails? Ensure your file is a supported image type and not too large. Refresh the page and try again.
- No Download Option? Check your browser’s pop-up blocker—it might be stopping the download link.
- Wrong Format? Double-check your selection before hitting Convert.
Final Thoughts
The Image Converter at Image & PDF Converter is a fantastic tool for anyone needing quick, hassle-free image conversions. With a few clicks, you can switch between formats and keep your projects moving. It’s perfect for beginners and pros alike, offering a no-frills experience that gets results.
Give it a try next time you need to tweak an image format—your workflow will thank you! Have tips or questions about using this tool? Share them in the comments below—we’d love to hear your thoughts.